Horizontal Stab 2...
Here you can start to see the fwd and rear spars coming together. The plans go to great lengths to describe small bends that go into the flanges for the nose ribs that are adjacent to the inside inspar ribs. You can start to see the aft shape of the fuselage here.
I didn't get too worked up about being a degree or two off, because the entire assembly kinda moves around until its all riveted together. The stressful thing was drilling through the spars. Make sure you have your poop in a group before you hit the drill trigger!

Like I said, things progressed, and this part of the build was actually pretty enjoyable. Lots of setting up, drilling, then disassembly for deburring etc.
I forgot to mention: both spars have about a zillion countersinks top and bottom. Even with a new cutter, and a countersink tool with excellent bearings, I was still getting some chatter. Ended up, I had to hold a piece of material beneath the flange of the spar, with a #40 hole for the guide on the cutter. This eliminated the chatter all together.
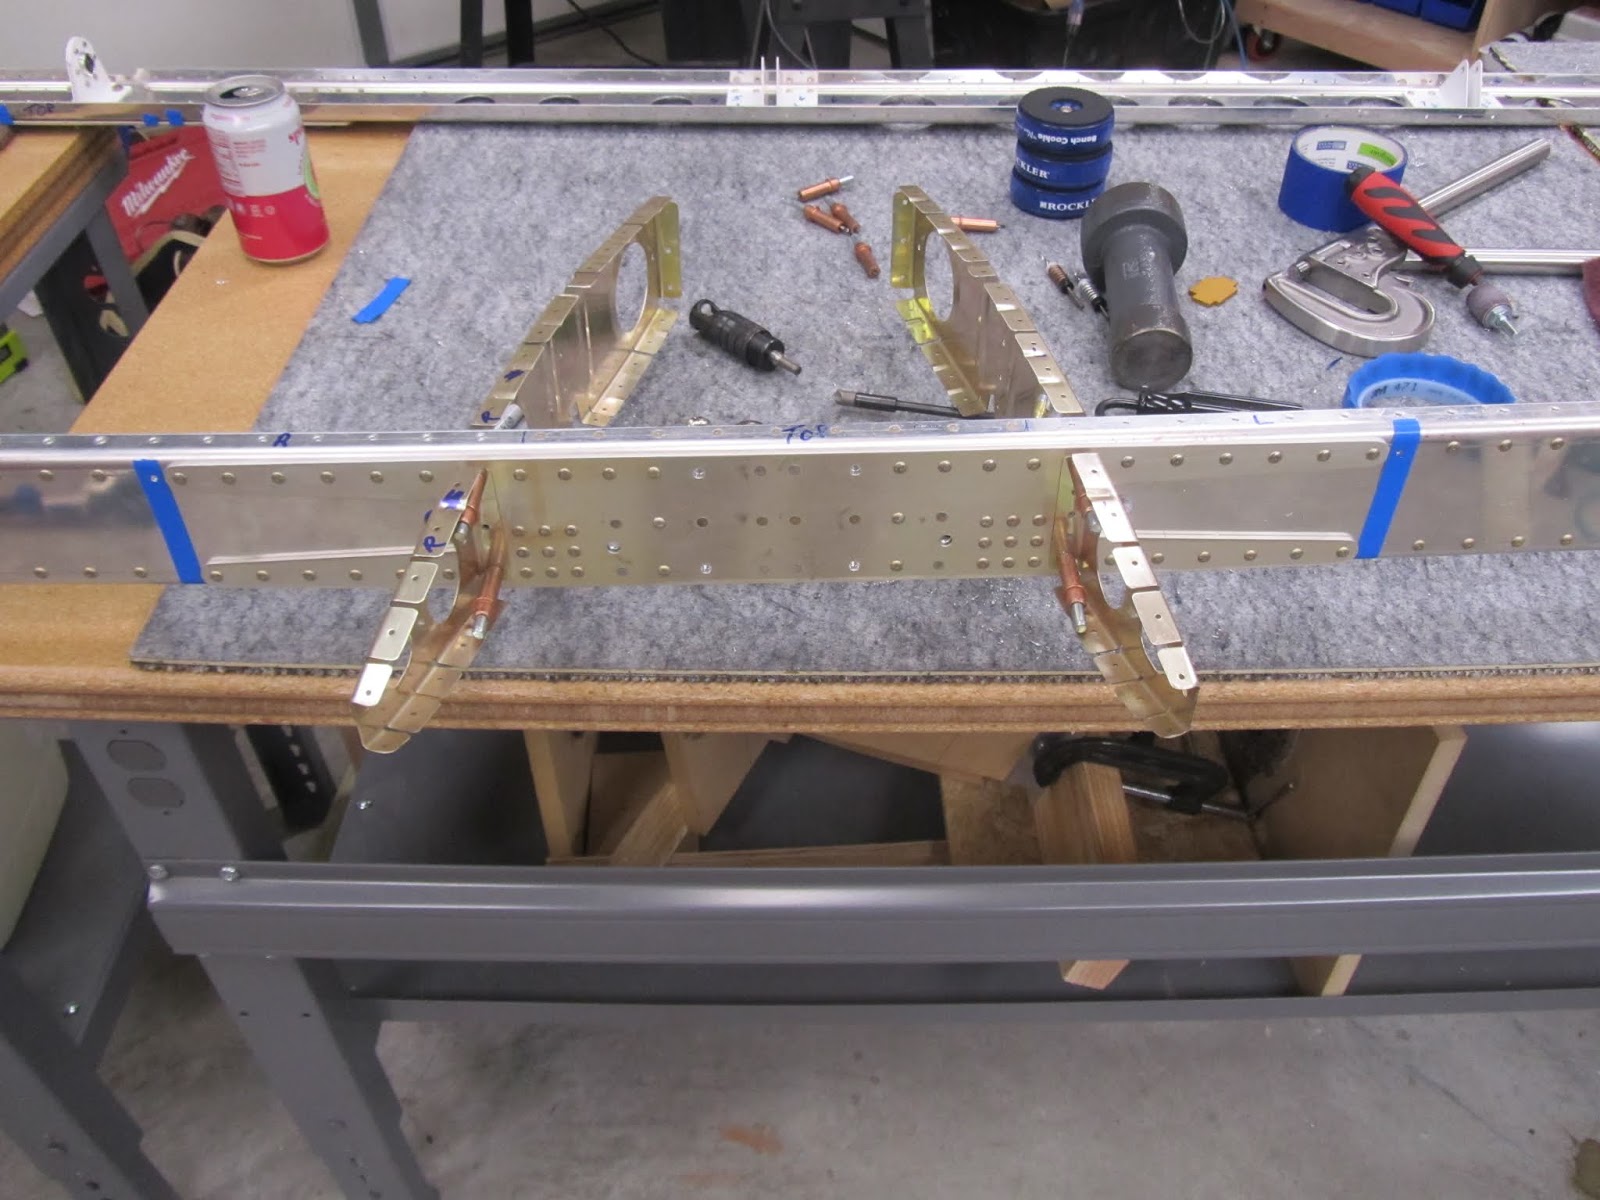
Note the tape on the top of the spar truss. That is personal preference only. I didn't like how the chips were getting down in between/behind the truss, so tap prevents it.


I dont remember what this assembly is called, but it starts coming together quick.


Inspar ribs get attached, and then cleco to the fwd spar. match drilled, and then deburred.
You can start to see how clamping parts helps keep things in one place. I found these black 90 degree brackets at Rockler last year. I plan on ordering more, because they are just handy as all get out. I cannot believe how much I have used them in this build already.

No comments:
Post a Comment