Rudder 4...
Up to this point, this has been my favorite part of the build. I really enjoy back riveting. Its all very straightforward. I bought a machined flat steel plate from a machine shop. It's about 18" long, and 5"? wide? It's .5" thick, and it works PERFECT for back riveting.


All of the "914" brackets to the right hand side are riveted with "pop" rivets. I was considering replacing that fastener with "cherry-max" type, but OH BOY am I glad I did not. (pics to come)


I used some old 18 gauge wire strung up over my garage door opener to hold the rudder skin while riveting the 914 brackets into position. The coating on the wire worked perfect as it didn't mar the skin.

Here is where things went a little sideways. You have to pay particular attention to how the ribs lay over the brackets. Somewhere in the middle of the process, I got the order wrong, and had to drill out about 8 of the LP 4-3 pop-rivets. If those would have been cherry-max, I would have been screwed. As it was, the only way I could reach those pop-rivets, was with a 90 degree drill.

I believe this was the first one I screwed up? In any case, pay attention to the directions, and go slow....
So this is just a post about technique, but I thought I'd throw it in anyways. Note the four rivets on the bottom of the rudder horn: those were probably the most stressful rivets to drive thus far in the build. The rudder horn is thick, and the R910 bracket proveides a challenge for access etc. Here is how I did it. Others might have a much better method, but this worked for me?

I use these padded envelopes that come with Amazon packages. They work great at protecting sheetmetal while the bucking bar bounces around.

This is 3M vinyl tape. It came like this in the mail. Maybe the roll got too hot at some point?

This is the little pad that I made to hold the bucking bar "up" because my fingers were just a little too big.

You can see that I didn't want the bucking bar hitting that nut plate thingy... Anywhoo, this is my technique, you might come up with something better!

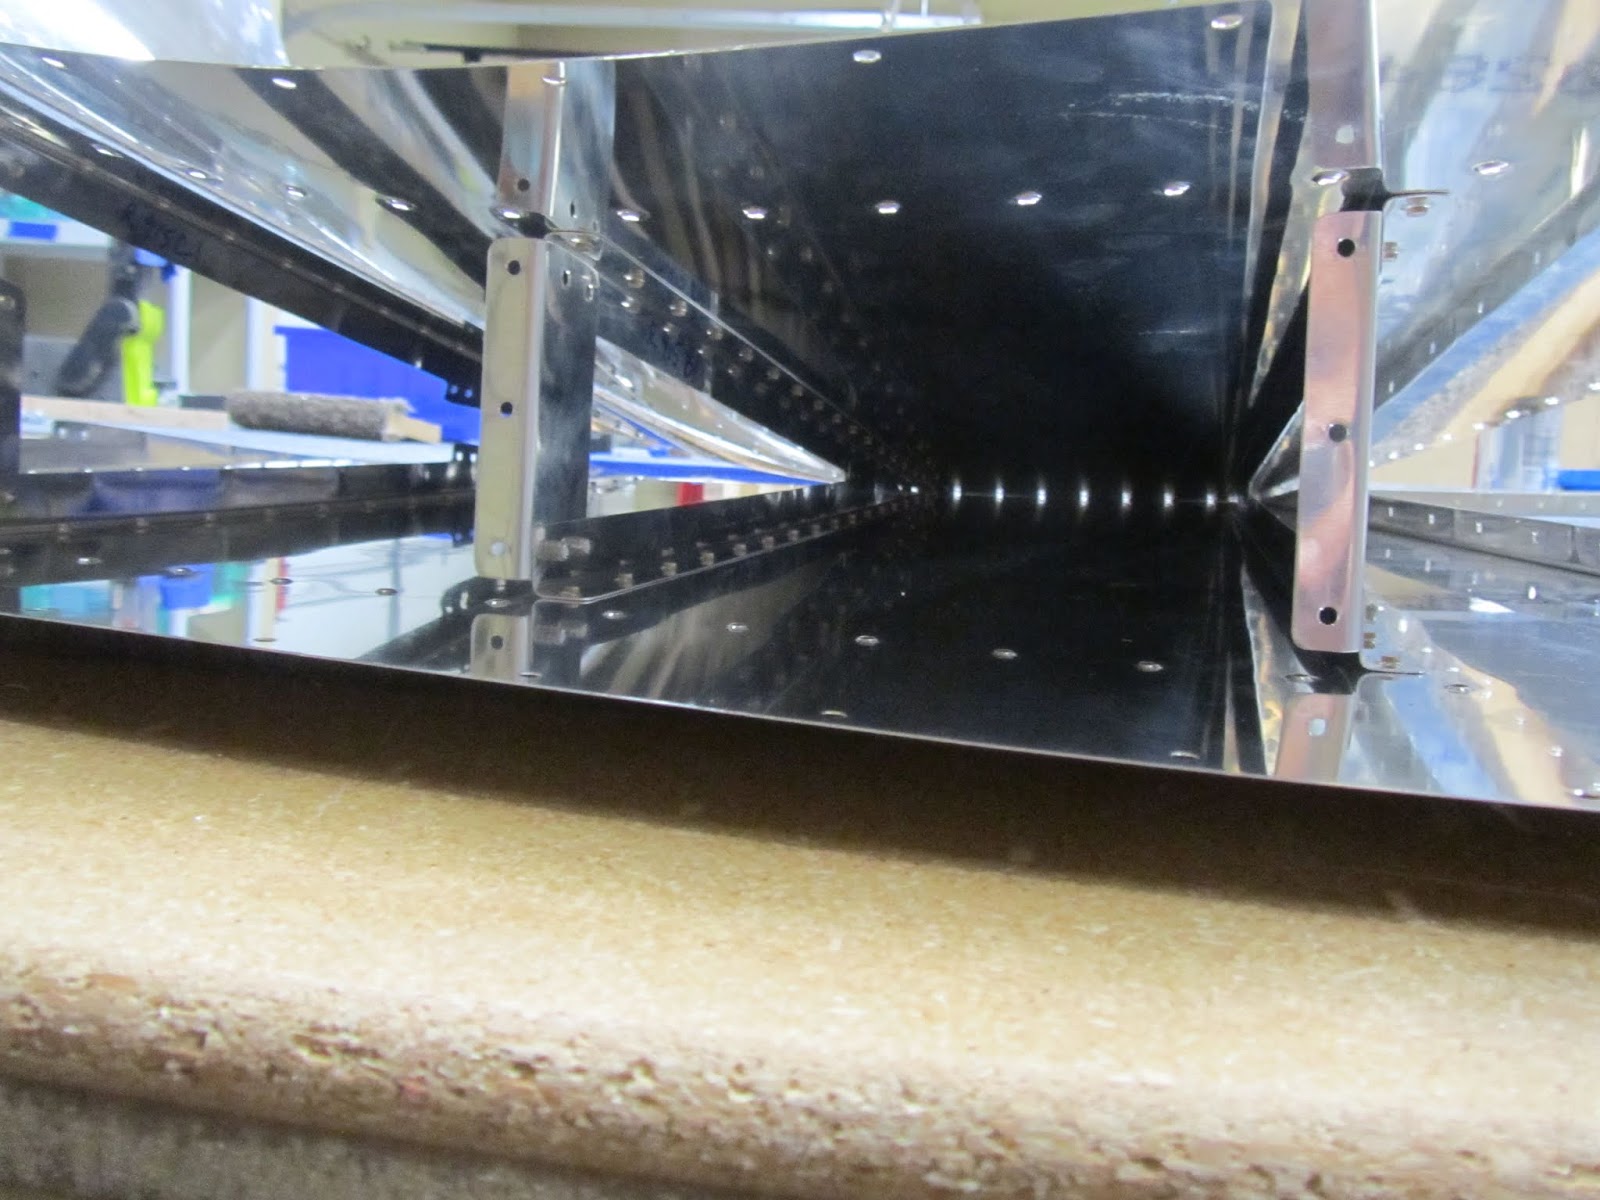
So, onward and upward. you rivet all the skin to the rudder spar, and its super easy. Work progressed quickly up until I realized I had drilled the wrong holes in the "counterbalance-rib" thingy? The pic below shows it in the incorrect position. It's difficult to see, but the rib looks almost symmetrical, but it is not. You drill the holes long before its installed in the spar, and by then it's too late. Oh well, I just called Van's, and they said drill new holes and build on. No reason to replace it. (thank goodness))

The corrected counterbalance installed. Be careful, its easy to over tighten the bolts that hold it in place.

The work progressed on riveting the skin. Some of the time, you have to think out of the box. My hands didn't fit, So I had to tape the bucking bar to this stick for a few rivets. It worked surprisingly well.


To be continued.....
No comments:
Post a Comment