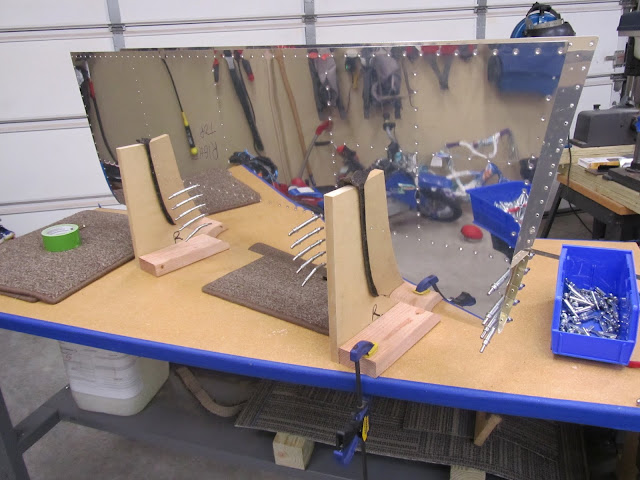
Things start to come together pretty quick at this point on the HS. I like to use the blue vinyl tape to remind myself of things that should, or should not be done.
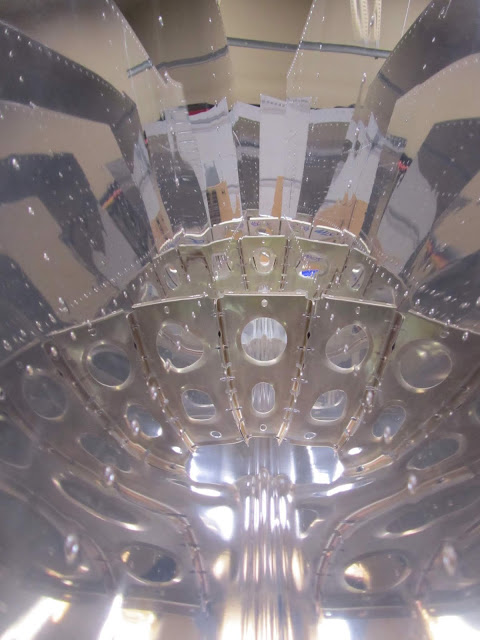
You keep adding ribs and making sure everything fits. The nose ribs on the ends of the fwd spar get added pretty early on.
You can see the shape of the inspar ribs, that identify where the aft fuselage will sit.
Next was adding the nose ribs to the skins on the HS. This is harder than it sounds, because there is no great way to get a bucking bar into place, and also the very tight angle of the leading edge. I had to be VERY careful when driving the flush rivets. With a flush rivet set, and a round leading edge, I war paranoid about making dents etc. This process is done with your arms extended into the skins, it's not really fun, but it got done.
The primer was purchased at Advanced Aircraft Coatings in Oklahoma City. They were HIGHLY knowledgeable about the products, and helped me with some "first timer" details. They saved me some bucks too, which I certainly appreciate!
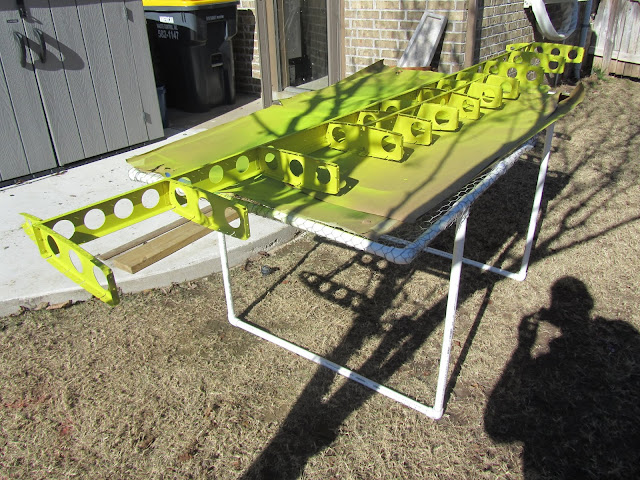
Anywhoo, so, I set up my handy dandy PVC spray rack, and laid down some butcher paper to help with the overspray. I donned my respirator, gloves, and face shield, and sprayed the HS, and the inside of the skins. It turned out great.
I chose a fairly inexpensive set of paint guns I found on Amazon (They can be found here) for a few reasons. 1) I am just spraying primer, and not painting a car, so I do not need a crazy fancy HVLP set up. 2) this set came with three different sizes of spray guns, which has proven to be very handy. 3) I wanted a set of guns I could learn to spray with, and for less than $100.00 this set was perfect.
Spraying primer is not very tough at all. Once you figure out the fact that there is a balance between the airflow, and the amount of paint you are sending down to the parts. I would rather make multiple passes than have something run, so I sprayed pretty light.
Cleanup was very easy. Just spray some acetone through the gun, and was up all the hard parts with acetone as well. Spraying primer was a great learning experience.
A couple of days later, I got tired of the terrible fall weather here in Oklahoma, and I decided I wanted to prime the inside of the rear spar. I had a BUNCH of plastic left over from painting our living room, so I put it to good use. You can see below to the right in this photo that the fwd spar assembly had been riveted in to place.


No comments:
Post a Comment